
Change your background
Blur what is behind you, or replace it, without leaving the call.
- Who can use it
- All staff
- Plans
- Paid plans
- Open More and select Blur/Background.
- Choose Blur, or one of the images.
- Select None to turn it off again.
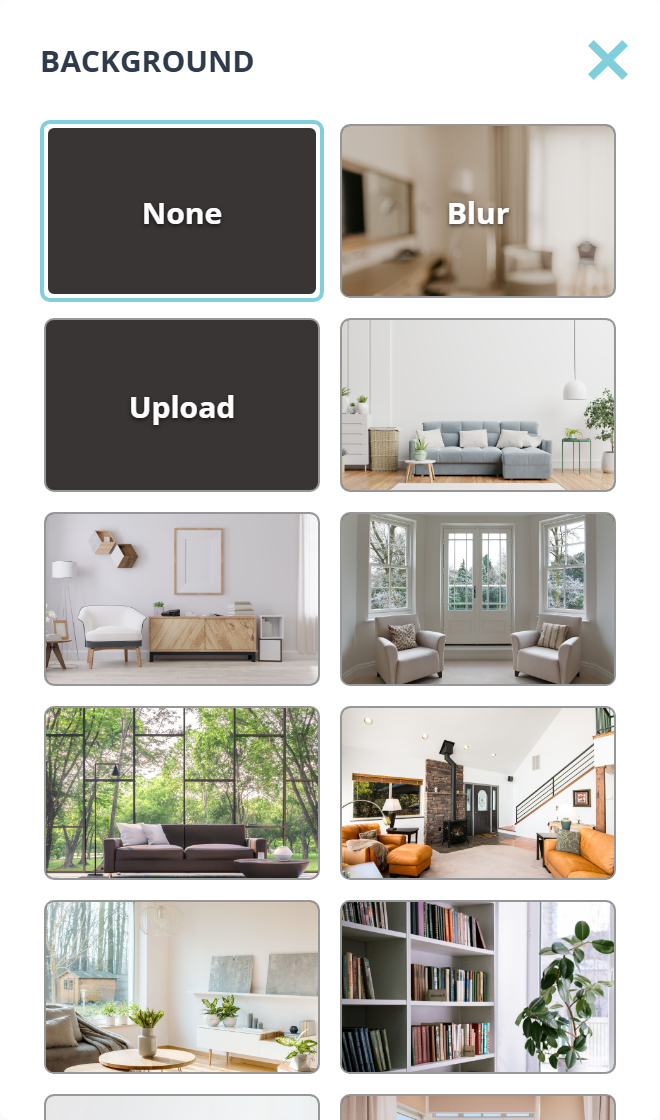
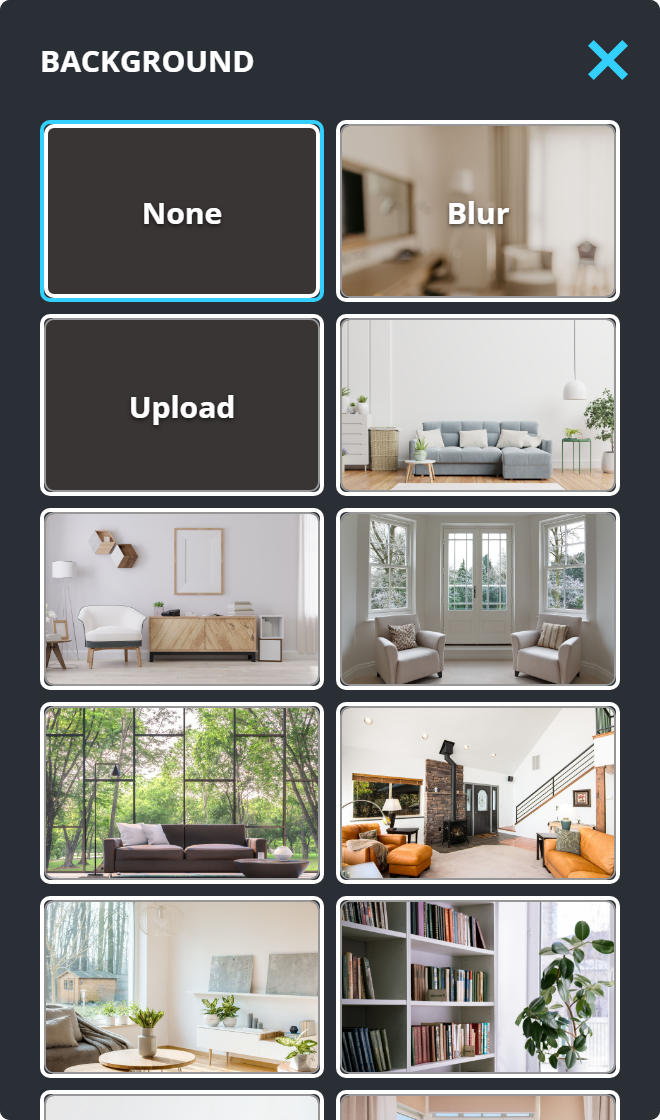
Three tiles carry words: None, Blur and Upload. Everything after them is a photograph with no name, so pick by the picture. The one you are using has a border around it.
The list is longer than the panel. Scroll it to reach the outdoor and seasonal pictures at the end.
You can also add your own with Upload.
What to expect the first time
The first background you apply in a session takes a moment, because the effect has to load. After that, changing from one image to another is immediate.
If you see your raw camera for a second when switching between blur and an image, that is the effect being rebuilt. Switching between two images does not do it.
What to know
- It runs on your computer, so an older machine may warm up or drop the video quality. Turn it off if the call becomes jerky.
- Virtual backgrounds are a paid plan feature.
- The client sees the result, not the original, and cannot turn yours off.