
Set your organization name and logo
What clients see above your name while they wait.
- Who can use it
- Clinic admins
- Where
- Account SettingsOrganization Details
- Open Account Settings › Organization Details.
- Set Provider/Organization Name.
- Upload an Organization Logo.
- Select Save.
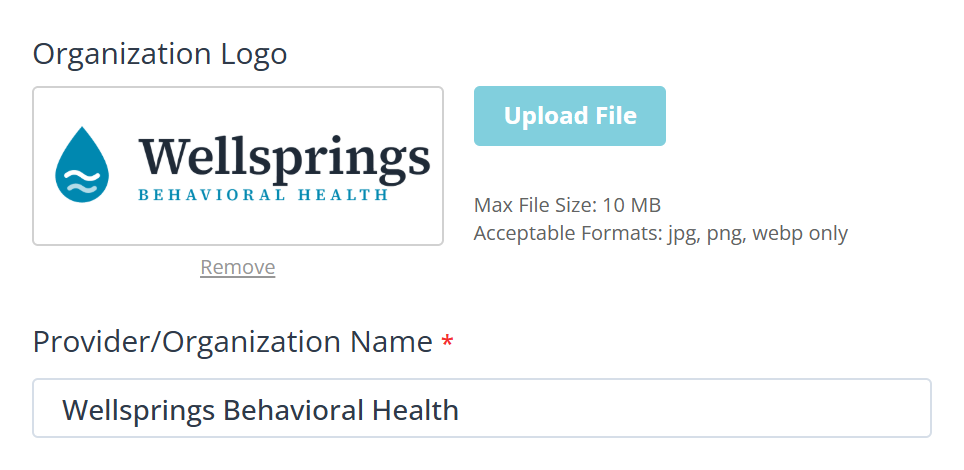
A logo may be up to 10 MB, as a jpg, png or webp. There is no SVG.
Provider/Organization Name is required; the logo is not. A clinic with no logo simply shows its name.
Where it appears
The logo is uploaded exactly as you choose it. Nothing is cropped or trimmed, so whatever you export is what clients see.
It is shown in a wide area, so a wide logo fills it best. A square or tall one is not a problem: it is fitted whole, with space either side.
A client sees it at check-in, before they see your name. For most practices it is the only branding on the whole visit, which is a reason to use the real one rather than a placeholder.
What to know
- The name is also what a shared room’s clinic URL is suggested from. See Create a shared room.
- Changing either takes effect immediately for anyone checking in afterwards.