
Create a shared room
Give your clinic one check-in link and one queue that several staff work from together.
- Who can use it
- Clinic admins
- Plans
- Paid plans
- Where
- Account SettingsRoomsShared Rooms
A shared room gives your clinic one check-in link and one queue (the list of clients waiting). Every member you add to the room sees who is waiting and can select Claim to take the next client.
Your personal room does not change. It keeps its own link and its own queue.
Set your clinic URL first
Your clinic URL is the permanent web address all your shared rooms live under. Every room link uses it, and you cannot create a room until it is saved.
-
Open Account Settings › Rooms › Shared Rooms.
-
Type your Clinic URL. We fill it in from your clinic name.
-
Select Save clinic URL.
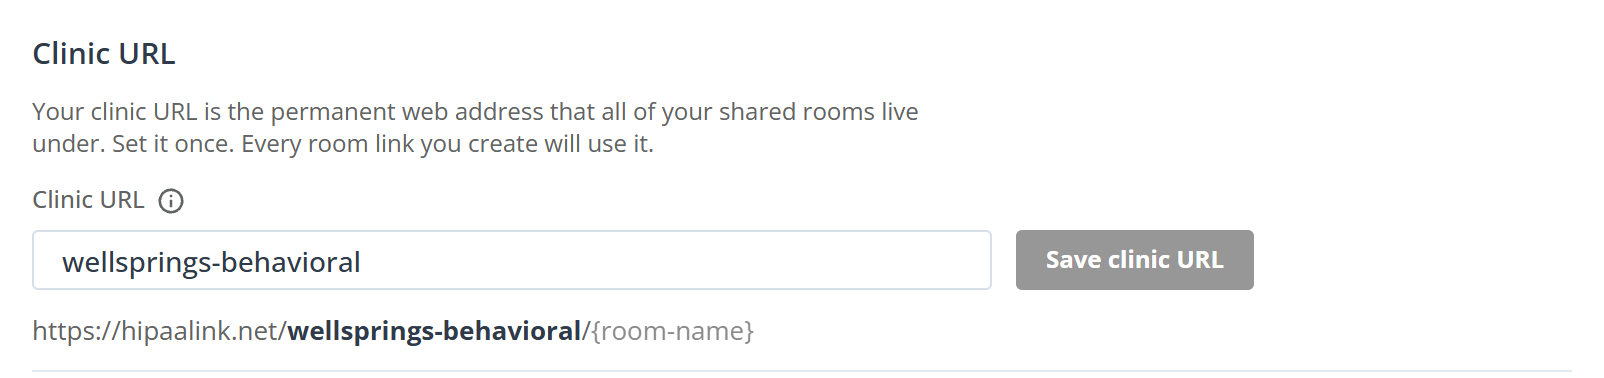
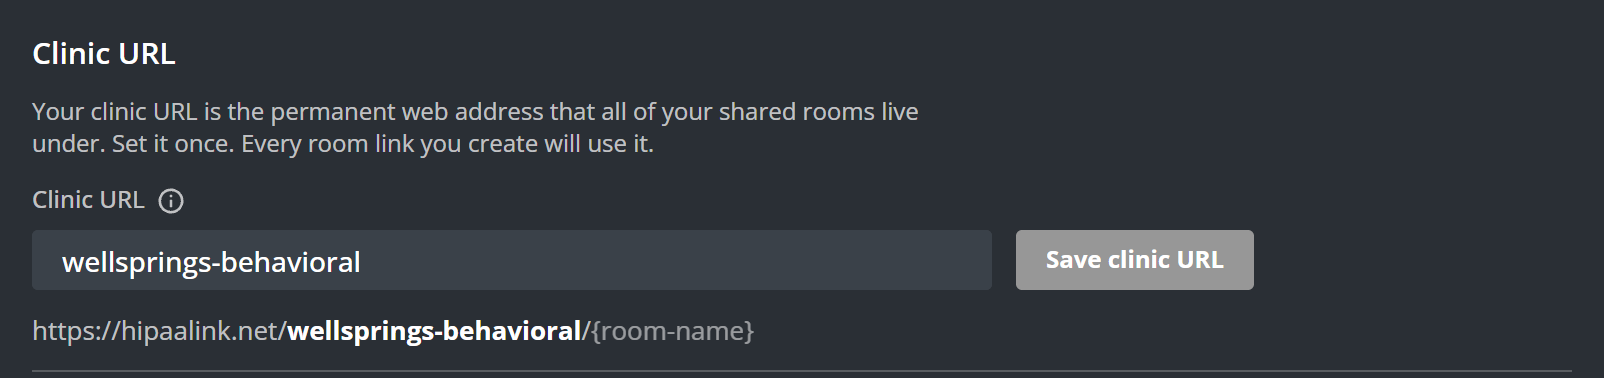
Choose it carefully. Changing it later immediately breaks every shared room link you have given out, and everyone who has one needs the new link.
Create a shared room
-
In Shared Rooms, select New shared room.
-
Type a Room name. This is required.
-
Check the Check-in link. This is required, and it is filled in from the room name.
-
Set the Welcome message, Unavailable message and Room colour if you want to. All three are optional.
-
Select Save.
Room name and check-in link
Name the room after the desk, not a person: Front Desk, Intake, Billing. Clients see this
name while they wait.
The check-in link is your clinic URL plus the room name. You can edit the room part before you save.
hipaalink.net/your-clinic/front-deskEach clinic has its own set of room links, so your front-desk does not clash with another
clinic’s.
The two messages
Both are what a client reads on the check-in page while they wait.
- The Welcome message shows when at least one member with access is online.
- The Unavailable message shows when none of them are.
Leave either box empty and the room uses the default wording, which is the grey text shown in the box. Type in the box to replace it.
Room color
A color marks the room everywhere it appears, so staff can tell one room from another at a glance down the queue. Choose No colour to leave it unmarked, or Custom colour to pick an exact shade.
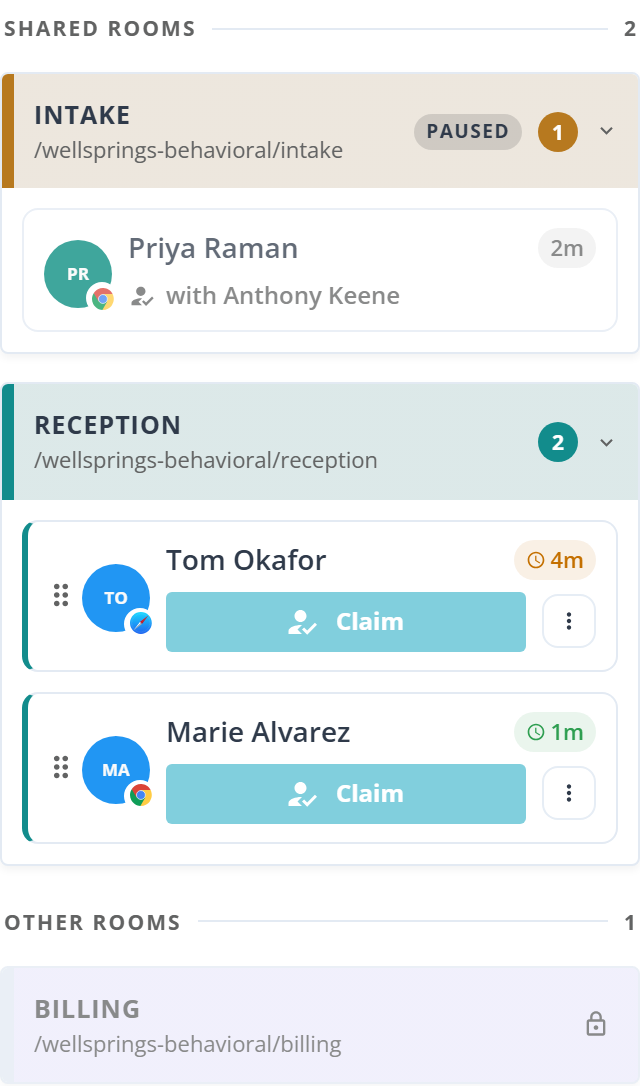
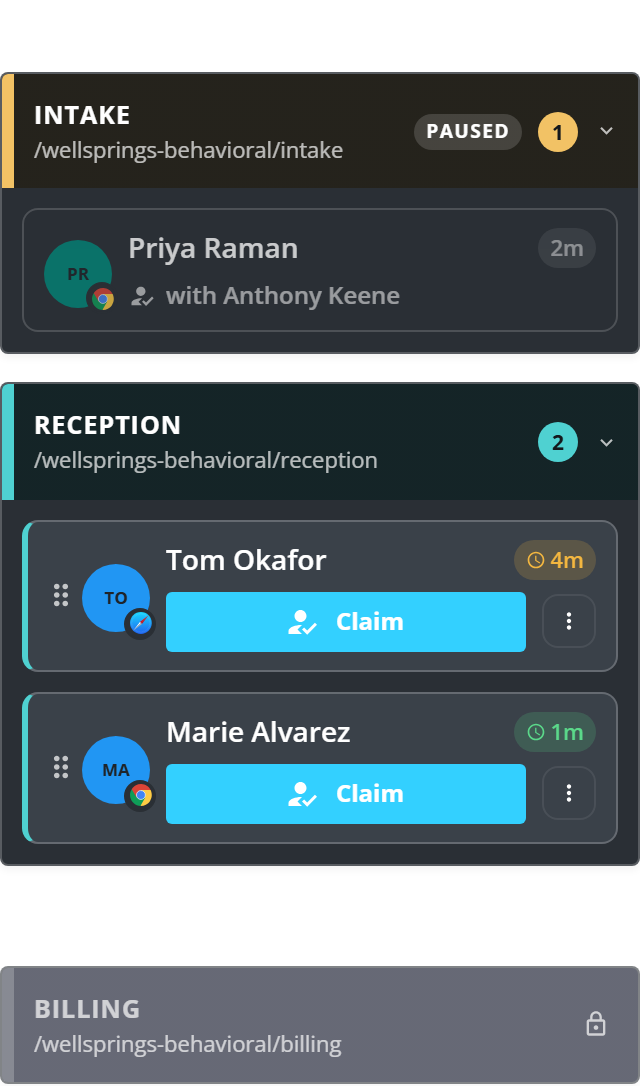
- The room name and its check-in link.
- A room you are not part of. It shows a lock and no queue.
Add staff to a room
Only staff you add to a room see its queue and can claim clients from it.
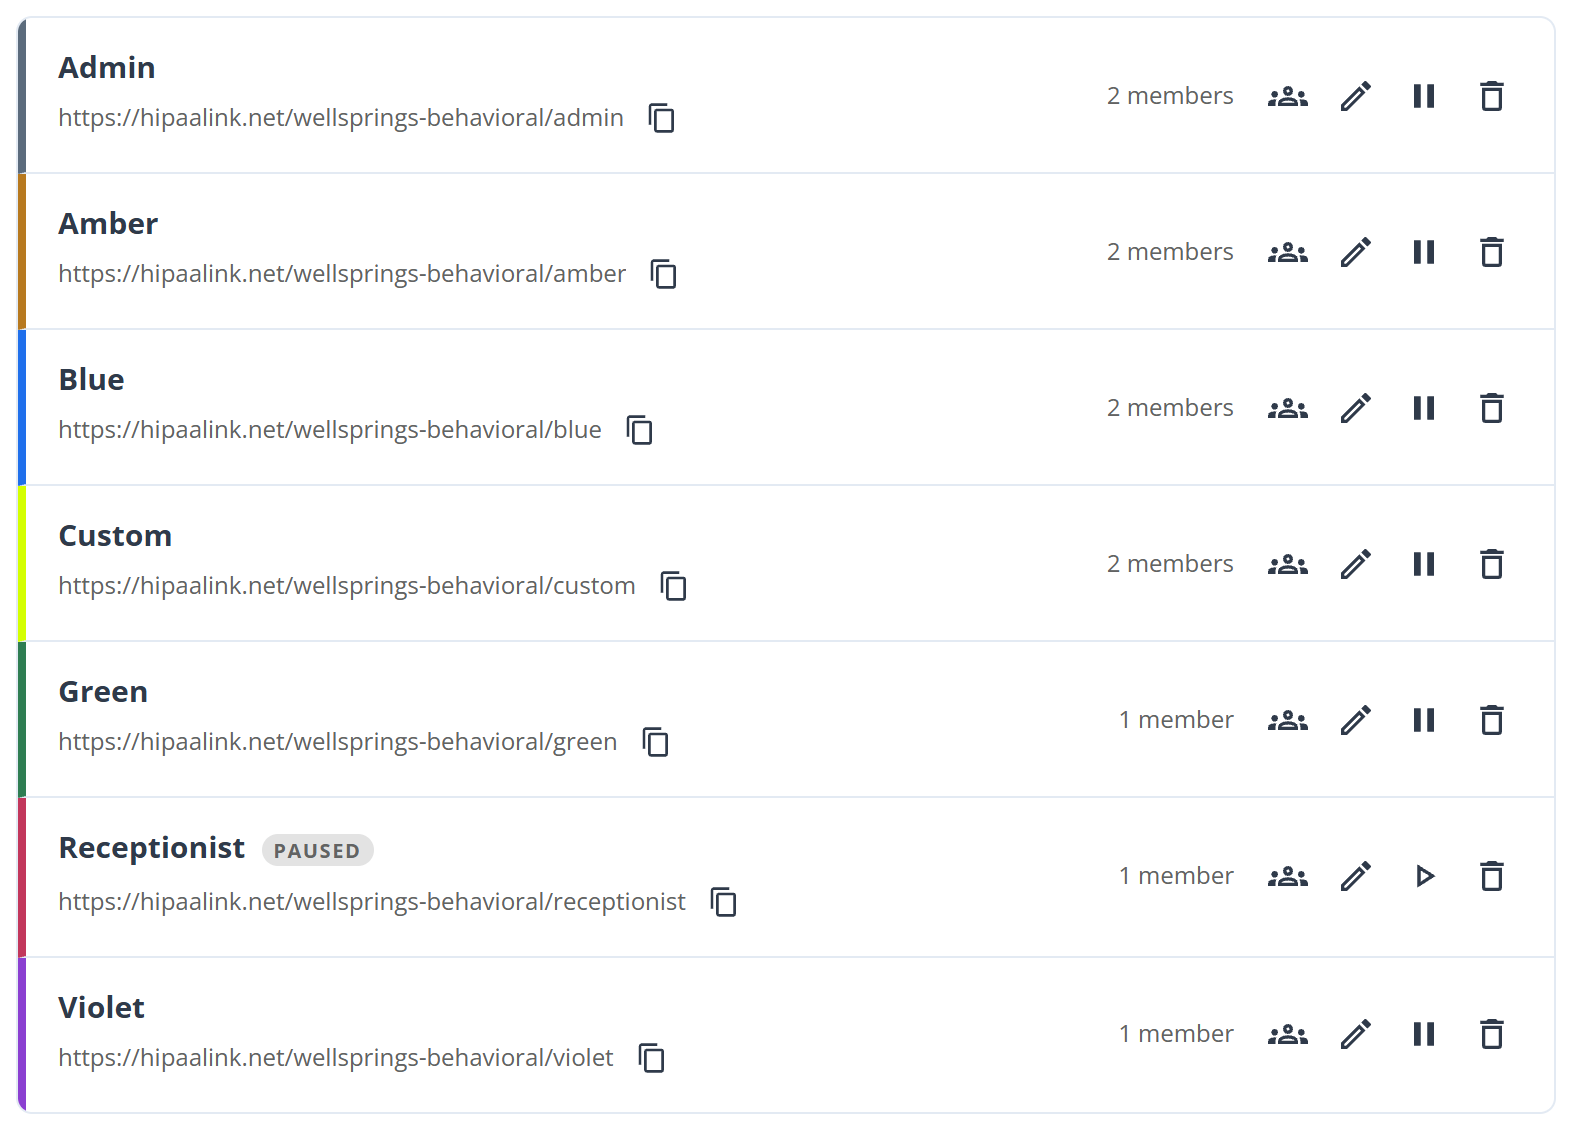
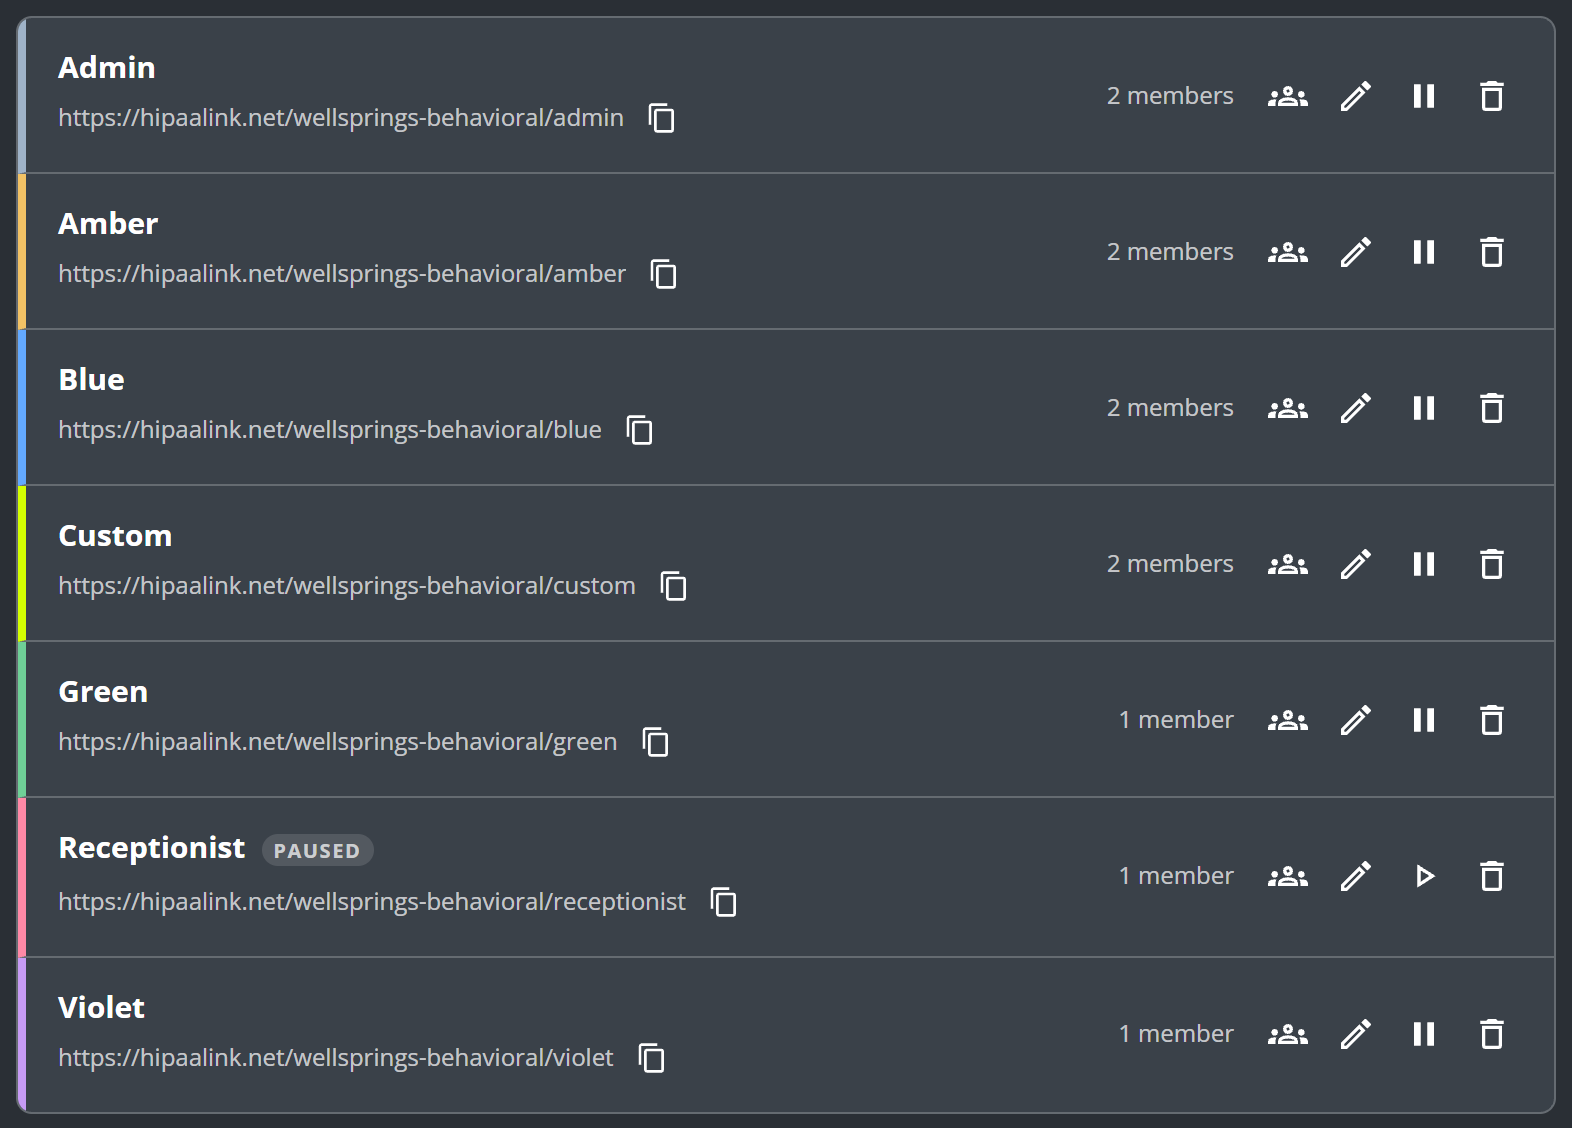
- Manage access, where you add staff to the room.
- Receptionist is paused, so this control offers to resume instead.
-
In Shared Rooms, find the room. Each room is a row, and its controls sit at the end of the row as small icons.
-
Select Manage access on that row.
-
Add the staff who should work the room, then select Save.
You are added when you create a room, and every room needs at least one member. Changes take effect right away, so staff already signed in see the room appear or disappear without reloading.
Pause check-ins
Pausing stops new clients from checking in. Clients already waiting keep their place, and you can still see and claim them.
Pause a room at the end of the day, or when no staff are at the desk.
-
In Shared Rooms, find the room.
-
Select Pause check-ins on that row.
To start again, select Resume check-ins on the same row. It is the same control: the pause bars become a play triangle, as they have on Receptionist in the list above. A paused room shows Paused everywhere it appears.
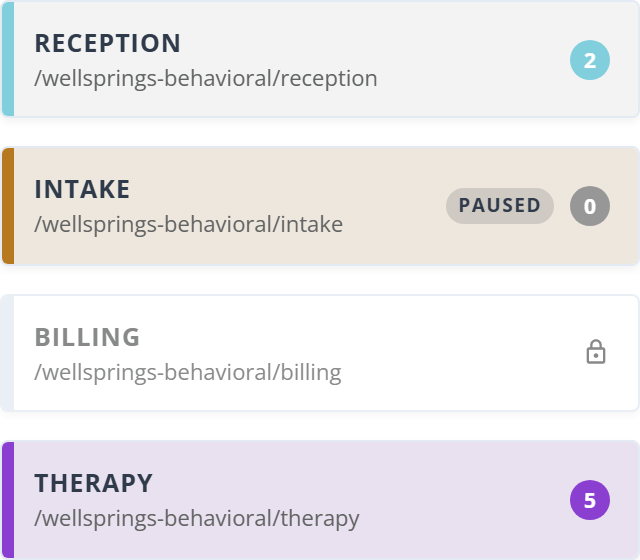
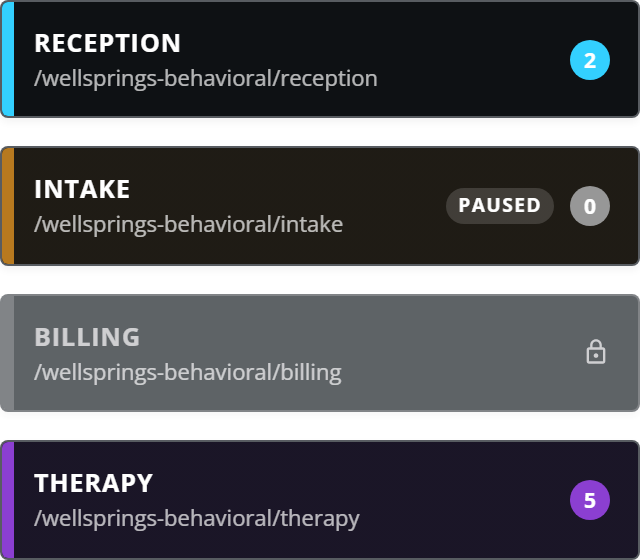
Reception, Intake and Therapy each carry the color chosen for that room. Billing has none, because a room you are not a member of shows a padlock in place of its count and does not say how many are waiting.
Delete a room
Deleting a room cannot be undone. When you delete a room:
- The check-in link stops working right away. Printed cards and QR codes with that link will fail.
- Clients still waiting are told the session has ended.
- The room name can be used again.
- Call history from the room is kept.